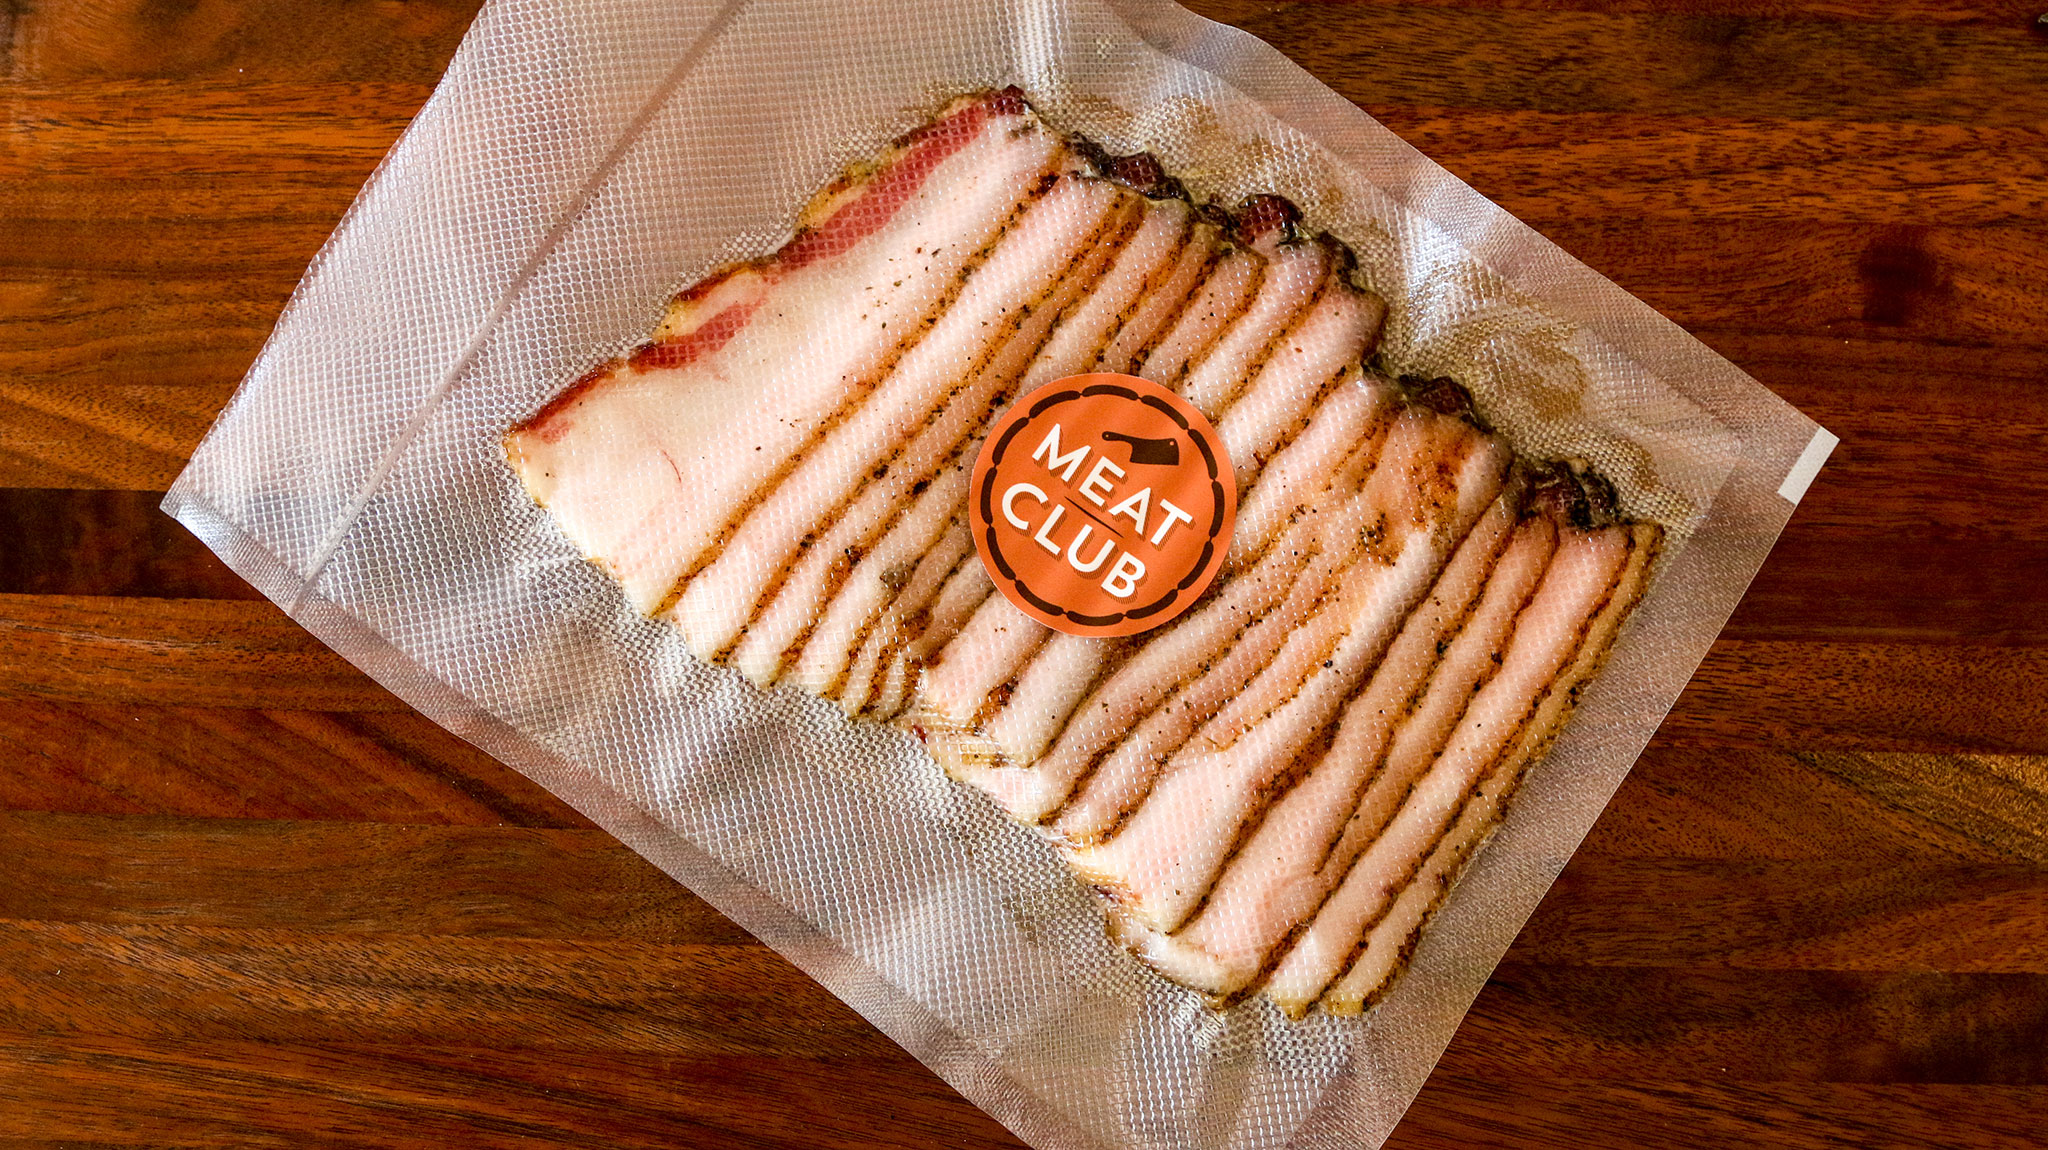

This is based on the recipe that kicked off Meat Club. Portland-based chef Ben Bettinger taught a charcuterie class, and this is the first recipe that he taught me (Ryan) how to make.
After we smoked the Bacon, the next day I received a text message from the wife of a friend whom I took the class with. The text read, "If you haven't tasted the Bacon yet, stop whatever it is you're doing and try it. It's the best Bacon I've ever had!" I immediately cooked the Bacon, and she was right, it was some damn fine Bacon.
Day 1: 1 hour 30 minutes
Day 8: 6 to 8 hours
20 pounds
• 1 cutting board per person
• Apple Wood Chips
• Plastic tablecloth or garbage bags
• Spice Grinder
• Smoker
• 20 lbs. pork belly, skin removed
• ¼ cup instacure no. 1 curing salt
• 4 cups kosher salt
• 1 cup black peppercorns
• 1 ¼ oz. whole bay leaves
• 8 cups brown sugar
Ask your butcher for two quarter-bellies. A quarter belly piece is normally around 12 lbs. After trimming, two quarter bellies results in around four pieces weighing about 5 lbs. each, one for each person.
You might do a double take when you see how many bay leaves you need to buy. This project calls for more bay leaves than you may use in your entire lifetime of cooking.
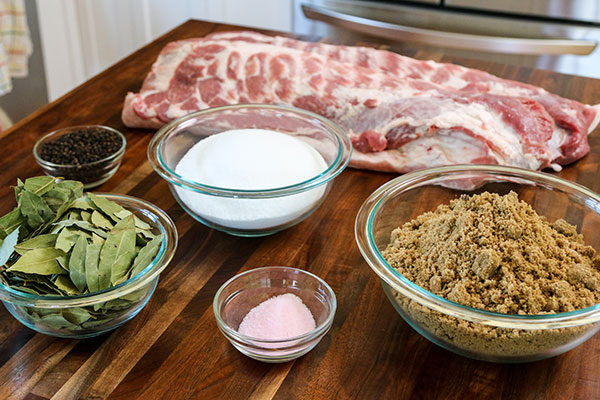
Measure out all of the ingredients from your shopping list, so that they are ready to work with in the subsequent steps.
Divide the pork bellies up into roughly 5 pound sections. Trim any abnormally large parts, so that the height is generally the same across the belly. What's abnormal? Think about eating it. If you'd say "damn, that's some fatty Bacon!" then you should trim it down a tad. If the belly came with the skin on, trim it all off.
Rinse each pork belly piece, and pat dry with a paper towel.
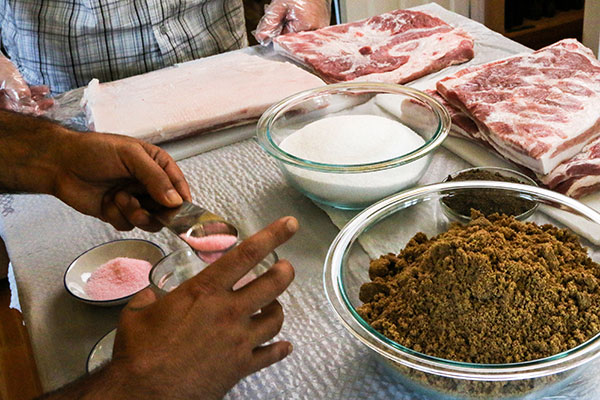
Everyone gets to play! Find a space for each person to prepare their belly.
Place a plastic tablecloth or numerous trash bags beneath each prep station surface to catch the loose spices, which will make cleanup much easier.
Lay a few layers of plastic wrap over the cutting board. This will eventually be wrapped around the belly.
Divide the salts, brown sugar, and spices evenly and place at each prep station.
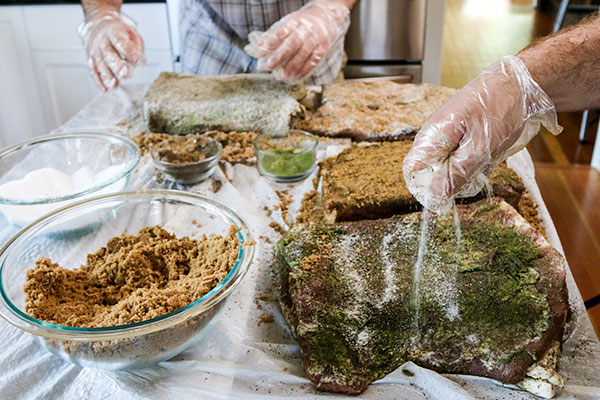
Place the belly on a cutting board and sprinkle Instacure No. 1 curing salt over the belly. Wearing food preparation gloves, massage the curing salt into both sides of the pork belly.
Pack on a thin layer of black pepper and bay leaves over the belly. Next, cover the belly with brown sugar and kosher salt.
Massage the spices into the meat until packed on well. Flip, and repeat the process on the other side.
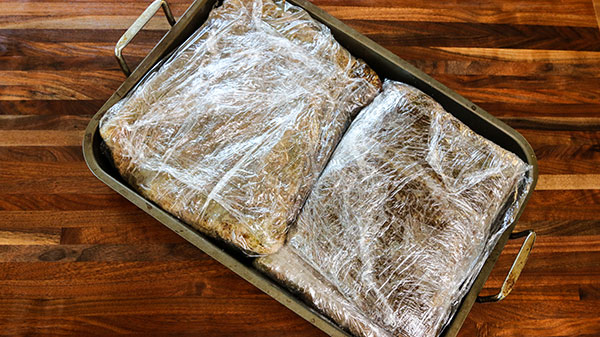
Wrap each of the spice-laden pork bellies separately in plastic wrap. We've found that it's easiest to lay down 2 single-wide sheets of plastic wrap or 1 double-wide sheet of plastic wrap down as a base, and then place the belly on top of the plastic sheet before wrapping. Otherwise, you'll scatter brown sugar and salt everywhere.
Using masking tape and a Sharpie, label the package Bacon: Smoke on May 13, 2015. Place the bellies in the refrigerator for 7 days.
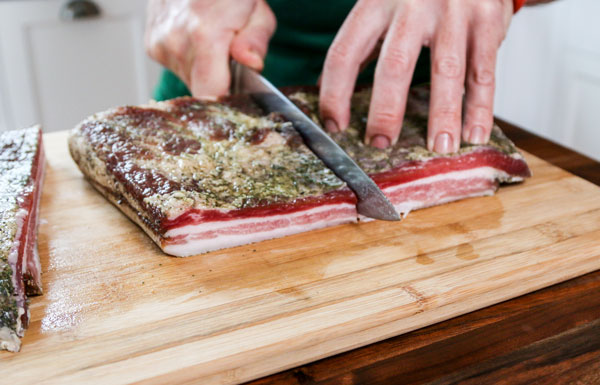
Divide the 5 lb. pork bellies into 4 equal parts.
If you have a meat slicer, you can skip this step. If you don't have a meat slicer, it's easier to divide up the bacon Before smoking, so that it's easer to slice the Bacon with your knife after the smoke. Otherwise, it's difficult to cut the entire width of the slab accurately with a knife.
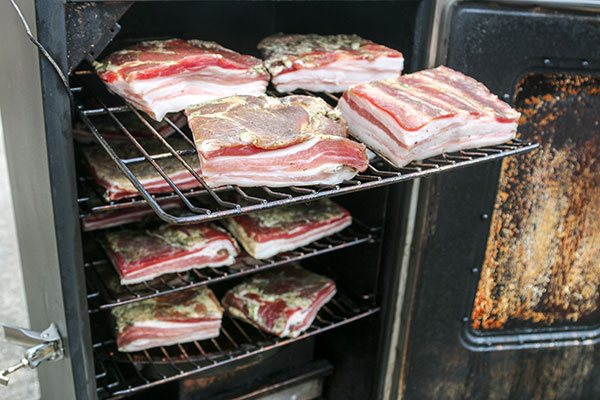
Place the pork bellies in a smoker set to a temperature of 170°F / 76°C, until the bellies reach an internal temperature of 145°F / 62°C, which should take between 4 to 6 hours.
Apple wood is the smoking wood of choice for this style of Bacon, because it adds a light, fruity layer of smoke. You can also use the wood from other fruit trees such as cherry or pear.
When ready, remove the pork bellies from the smoker and place on cooling racks.
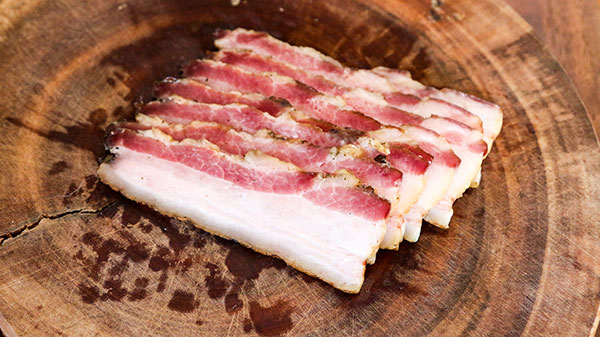
Using a meat slicer or a sharp chef's knife, slice the Bacon into strips.
Wrap each ½ lb. of Bacon in wax paper. Place it in butcher paper or sealable freezer storage bags, and label with a Sharpie Bacon: made May 6, 2015. Place in the refrigerator for up to 2 weeks, or the freezer for up to 2 months.
If you want to level up your meat freezing mastery, try a vacuum sealer. They're inexpensive, fast, and easy to operate. Most importantly, they'll keep your meat protected in the freezer while looking pro. Really gloss up your game by first vacuum sealing your meat and then wrapping in butcher paper and string with your club sticker. The utility of professional grade freezer storage, but still dressed to impress.
Please cook the Bacon before consuming it. Preheat your oven to 400°F. Preheat your oven to 400°F, place a cooling rack over a cookie sheet, lay the slices on the cooling rack, and bake for 15 minutes. Or just pan-fry it if you're already the bacon fuckin' master. Throw the Bacon alongside eggs, eat it by itself, or do what we do: Make BLB's - Bacon, Lettuce, and Beet Sandwiches.