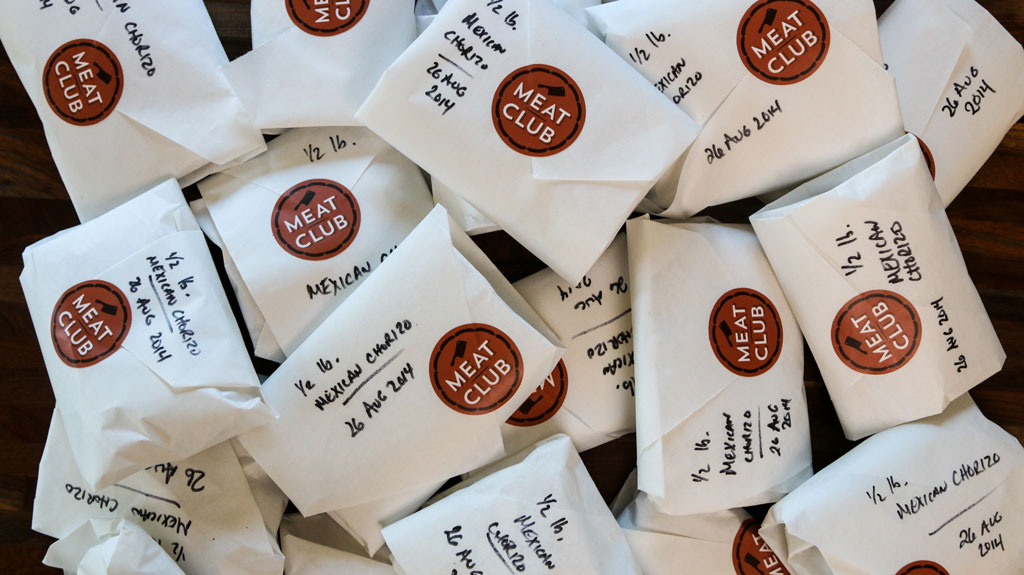

After the sausage has been stuffed, the Bacon has been smoked, or the corned beef has been steamed, the final step of meat preparation is the wrapping of thy meat.
If you’re a greedy bastard and just making meat just for yourself, plastic freezer storage bags are the easy solution to the “Where am I going to stick my sausage?” dilemma. But let's assume you're planning to share your meat with your friends...
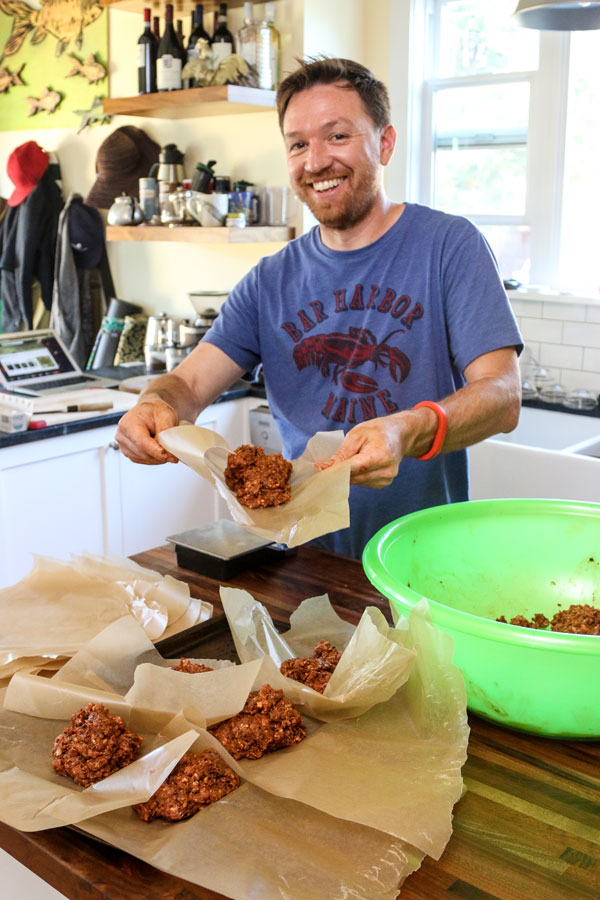
Pre-slice your Bacon or Pastrami, snip apart each sausage link, pull apart your loose Italian Sausage into ½ pound segments, or use cookie cutters to give an even shape to your Breakfast Sausage. Then wrap each serving in wax paper or greaseproof parchment paper, to make sure the meat doesn’t stick to its package.
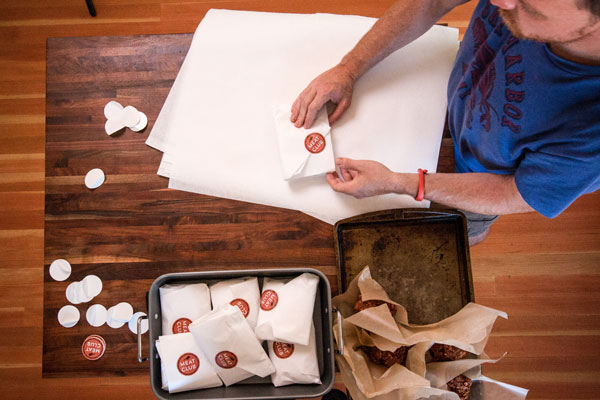
If you’re planning to let your friends savor the taste of your meat, we’ve found that wrapping the meat in butcher paper is more likely to ensure that your concoction isn’t thrown in the back of the freezer, only to be forgotten amongst the plethora of freezer burn-laden meals. And it will make you feel more like a professional too.
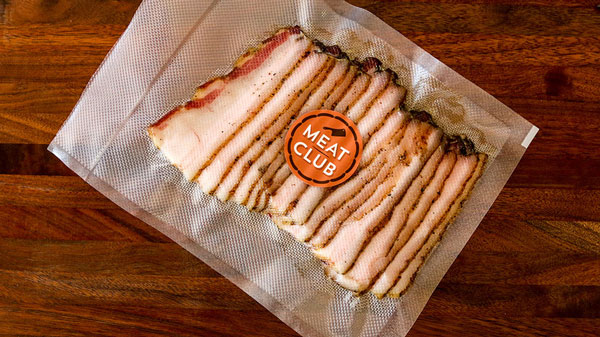
If you want to level up your meat freezing mastery, try a vacuum sealer. They're inexpensive, fast, and easy to operate. Most importantly, they'll keep your meat protected in the freezer while looking pro. Really gloss up your game by first vacuum sealing your meat and then wrapping in butcher paper and string with your club sticker. The utility of professional grade freezer storage, but still dressed to impress.
The way you present your meat gift does matter, and a gift of meat wrapped in butcher paper, and sealed by butcher string or a custom-made sticker shows that you went the extra mile on your DIY project. Feel free to use the official Meat Club sticker, or go all out and create a custom logo and stickers for your club.
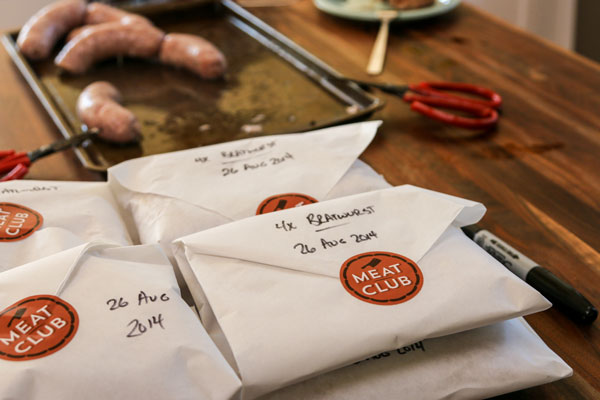
Always document on the package what the meat is and when you made it. It’s unlikely that the missus will let your homemade Bacon sit in the freezer for a couple months, but just in case, use a Sharpie to write Bacon: made May 6, 2015 on the package.