There are a few things that every grown man should know how to do - change a flat tire, build a fire, read a compass, and stuff a sausage.
We’ll add some of the following steps in the meat project directions, but also wanted to have a step-by-step process that provided a few more details then we had room for in each of the meat projects.
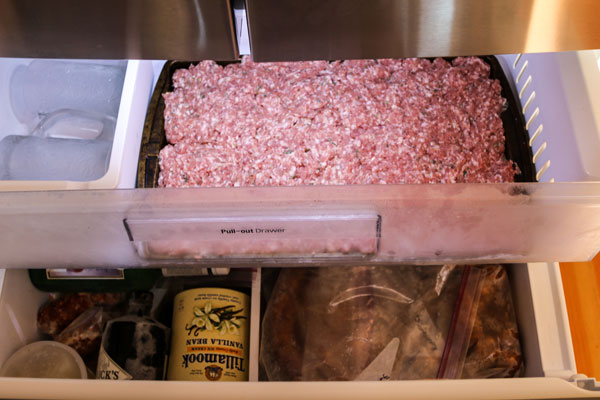
This should be your mantra before and during sausage stuffing. Try to keep the meat and all of your equipment as cold as possible when stuffing sausage.
Place the meat in the refrigerator or freezer during any downtime, whether it's while you're waiting for the other meat clubbers to finish measuring spices, or while you're waiting for the meat patty to finish sautéing for the taste test. Place the mixing bowls, and meat grinder and sausage stuffer parts in refrigerator before use.
Keeping everything cold will ensure that the fat doesn’t warm up and gum up the meat grinder blade or sausage stuffer nozzle.
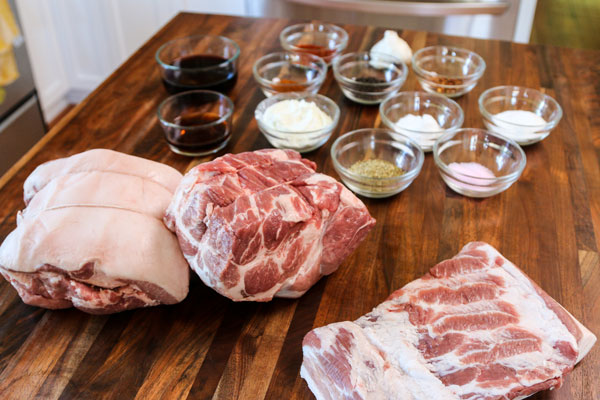
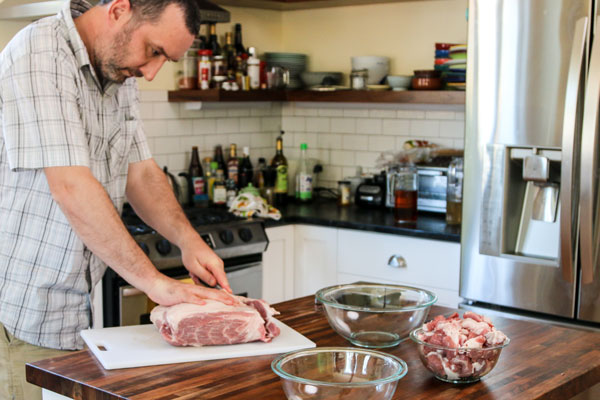
Measure out all of your ingredients in order to get started. Preparing the mis-en-place means that you'll make sure that you have everything you need to make sausage. If not, you can send one of your fellow meat clubbers off to the grocery store to grab the missing ingredient. Or pick up an extra six-pack.
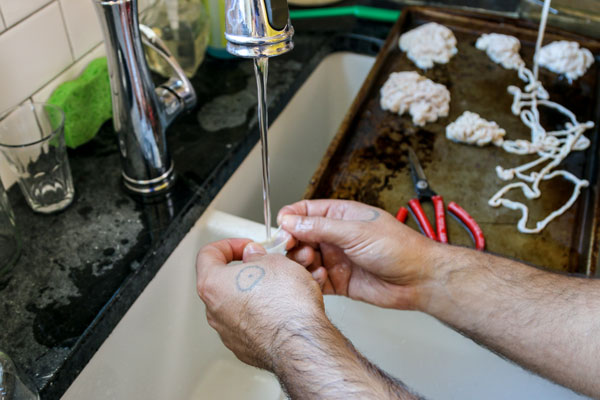
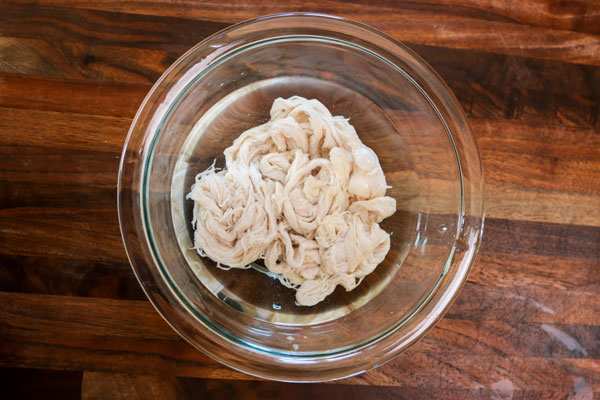
You’ll want to get the casing ready for stuffing at least 30 minutes beforehand. If the casing was packed in salt, unpack it and rinse it really well to get most of the salt off.
Place the open end of the casing under the faucet, and let it start to fill up with water like a balloon. Use your hands to push the water from one end all the way to the other, rinsing the inside of the casing.
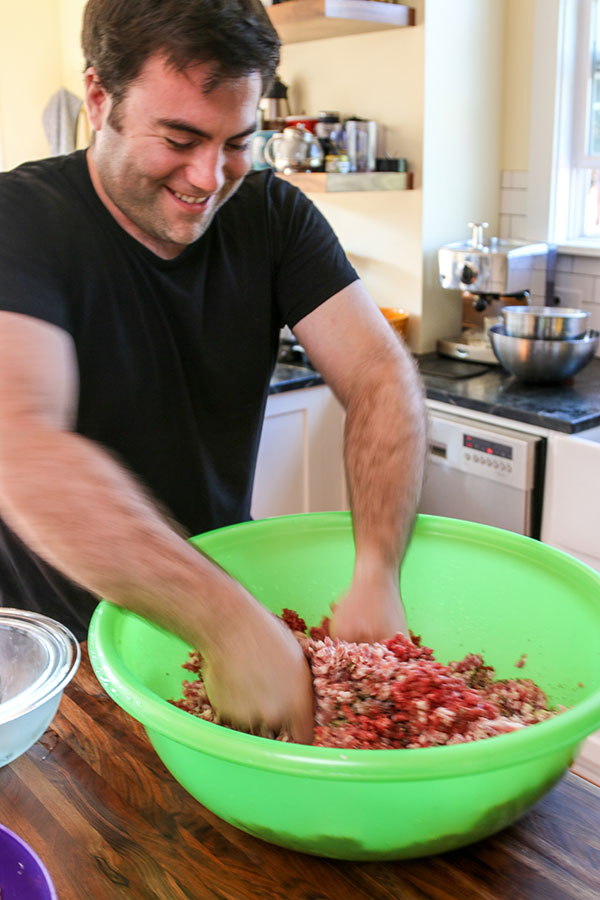
Once your spices are measured out, your garlic minced, and your herbs chopped, whisk them into a small amount of liquid - which could be water, vinegar or wine, depending on the recipe. This will ensure that the salts and spices will dissolve and be able to integrate fully into all of the meat.
If you have powdered ingredients, like Mustard powder or paprika, first you might want to mix them separately with a couple tablespoons of liquid in order to make a slurry. This will help you get the clumps out before mixing them in with the other ingredients.
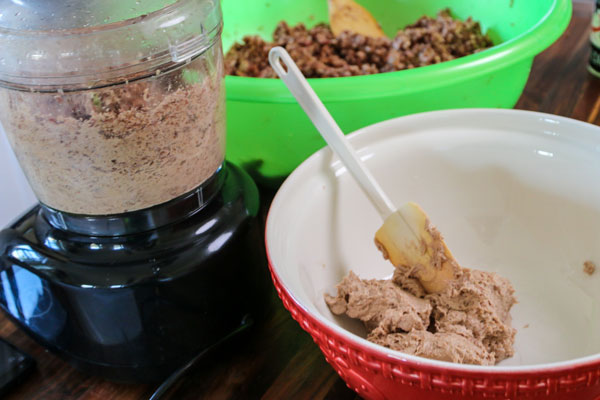
Some meat projects, like Hot Dogs, call for emulsifying the meat in order to create a meat paste that you'll later stuff into casing.
Toss a couple ice cubes into your food processor, and hit the pulse button to coarsely chop the ice cubes. This will help to ensure that your equipment is cold, and will add a little extra moisture to your meat.
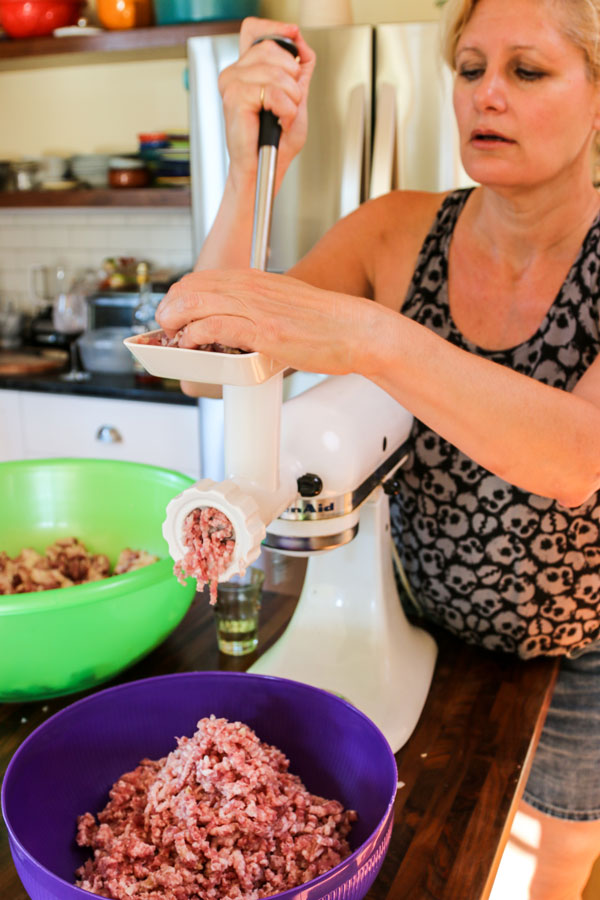
Add the meat to the food processor in ½ pound batches, and process for about 1 minute, until the meat has a smooth, pasty consistency.
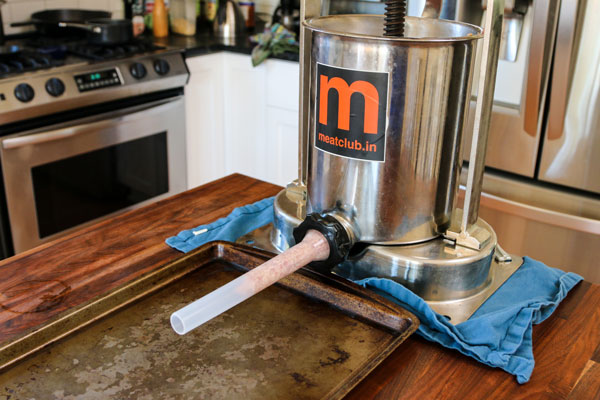
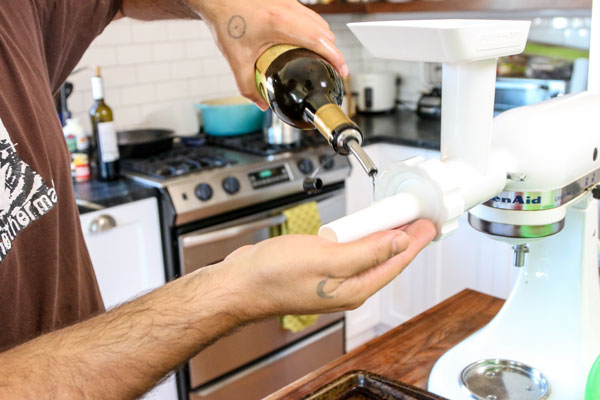
Pull all of your sausage stuffer parts out of the fridge and assemble the sausage stuffer.
We usually place a cookie sheet beneath the stuffer tube to catch the drippings.
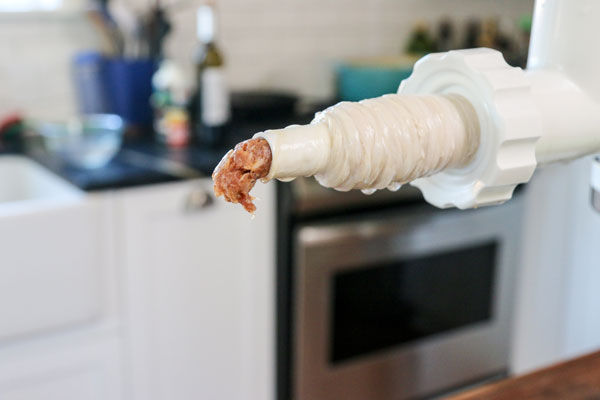
Find one of the open ends of the casing, pull the edges out and place the open end around the sausage stuffer nozzle. Push the open end all the way down the nozzle, and push the remaining casing towards the back of the nozzle until the entire casing is on the nozzle.
Put the meat mixture in the stuffer, and push the first bits of meat through until the meat is just barely poking out the end of the nozzle.
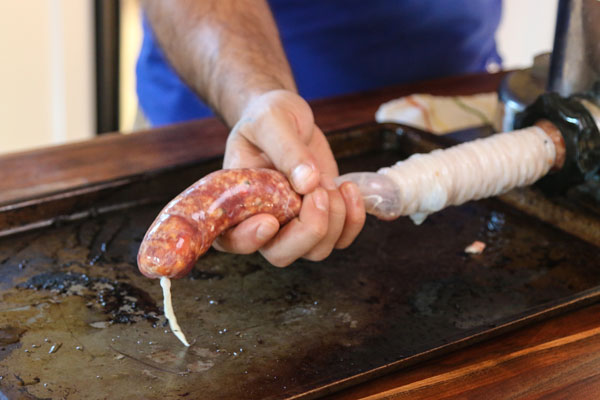
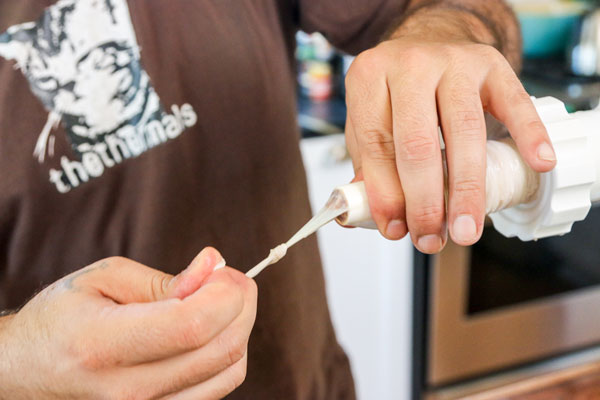
Methodically press the meat mixture through the casing. Don’t push it too fast, or else you’ll find yourself cleaning up a meat explosion after it bursts through the casing. Slow and steady wins the sausage race.
Keep a small parry knife on hand, to pop any air pockets that blow up like gum bubbles in the casing.
Oh, and feel free to drop a sausage joke here. As one club member mused, "The thing about Meat Club is that there's an infinite number of sausage jokes. It's just not possible to run out."
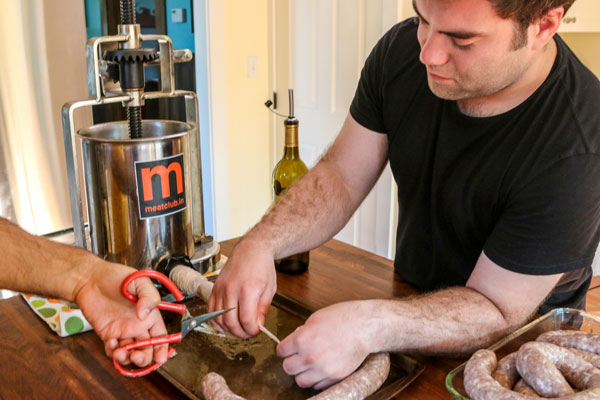
If you’re making a lengthy meat, such as an 18-inch Kielbasa, or a 10-inch Linguiça, it’s easiest to snip and tie as you go.
Tie one end, and push the meat through. When it reaches the desired length, stop pressing meat through, pull the casing out about 2 inches, snip the casing off with kitchen shears, and tie the end of that individual sausage.
Tie the open end of the casing and push it up to the stuffer nozzle, and you’re ready to roll again.

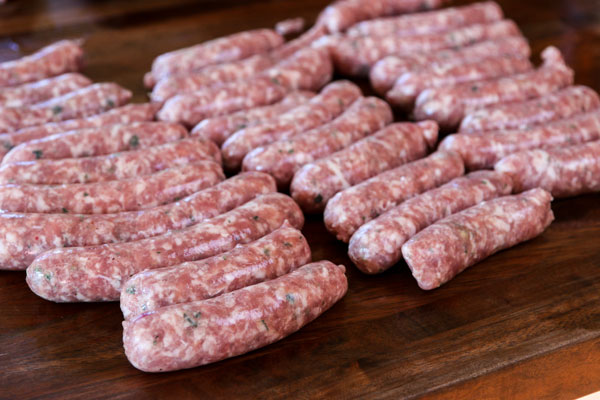
If you’re making a stubby sausage, such as a 6-inch Bratwurst or a 4-inch Merguez, it’s easiest to press all the meat through in one big push. When you’re pushing the meat through, try not to pack it too tightly, in order to make it easier to churn out the sausage links.
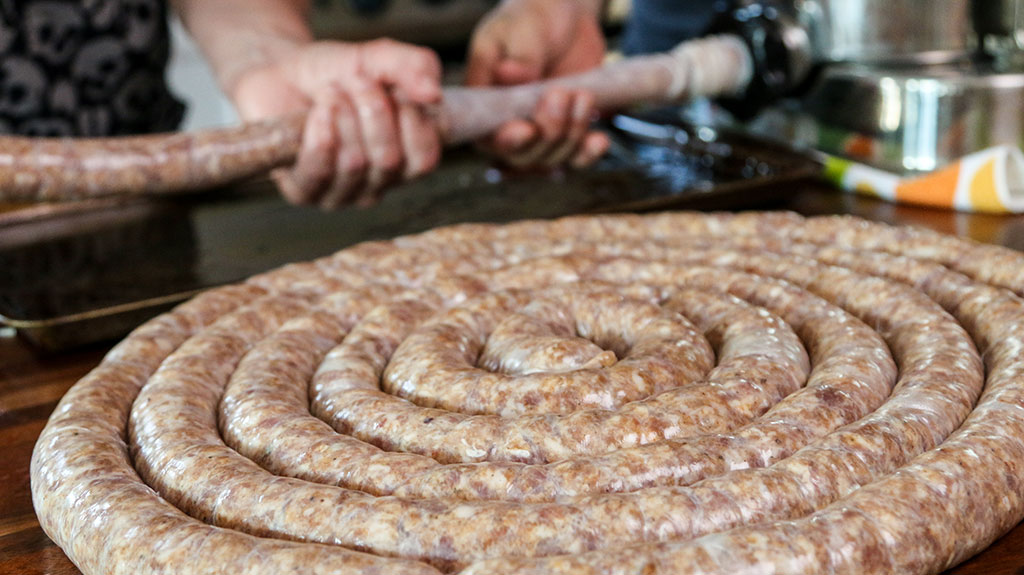
Roll the sausage up into a giant coil as you go. Tie off the end once all of the meat has been pushed through.
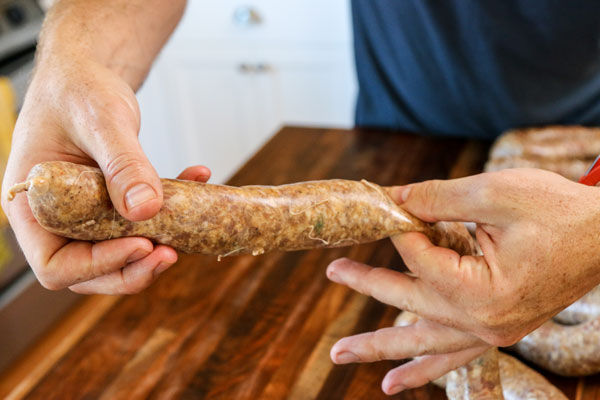
Find an end of the sausage coil, and run your hands down the length of the sausage to redistribute the meat evenly. Pinch the links every 4, 6, or 8 inches, or whatever size you're going for, to prepare your sausage for twisting. Twist every 1st and 3rd link about 3 twists in the same direction. It might seem strange, but you're basically twisting up 3 links at the same time.